Wordpress Checkout Module
The Snap Checkout App is ideal to capture customers at the tail end of their shopping journey when they are ready to check out. Your customers can easily apply, and if approved, directly check out on your website using Snap to pay.
Installation steps
Step 1: Visit Wordpress Dashboard
Go to your WordPress Admin Panel and click on "Installed Plugin Option" in the left sidebar.
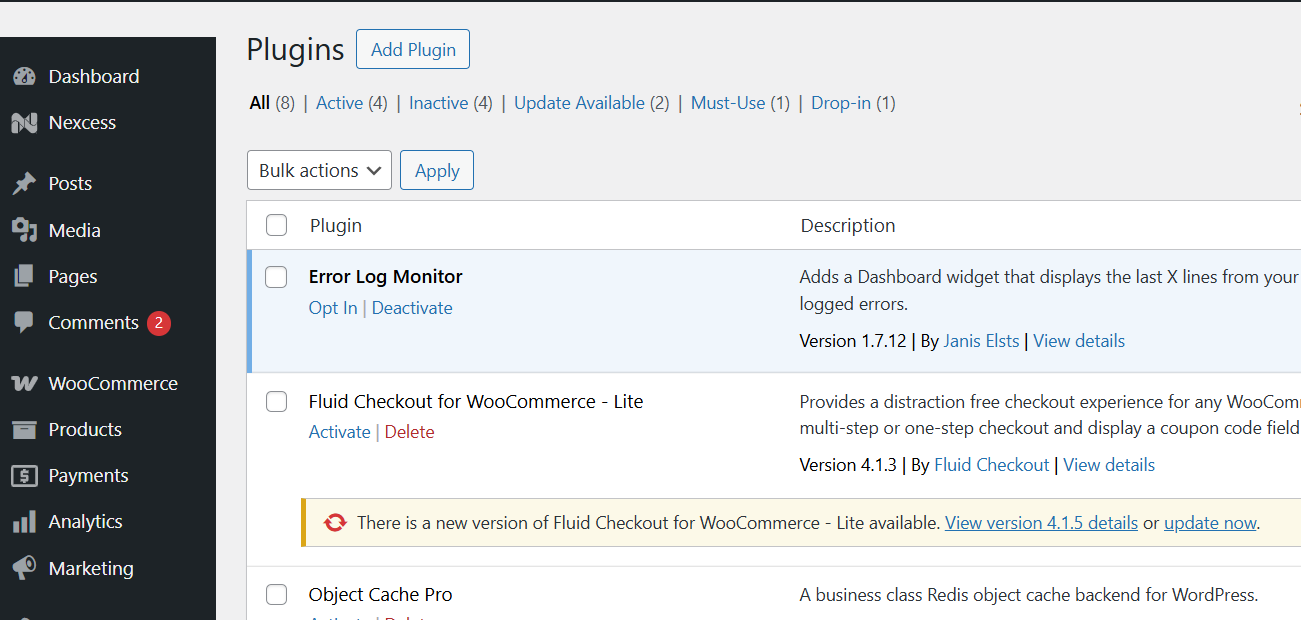
Step 2: Go to Plugins → Add New
From the left sidebar, click on "Plugins", then select "Add New".
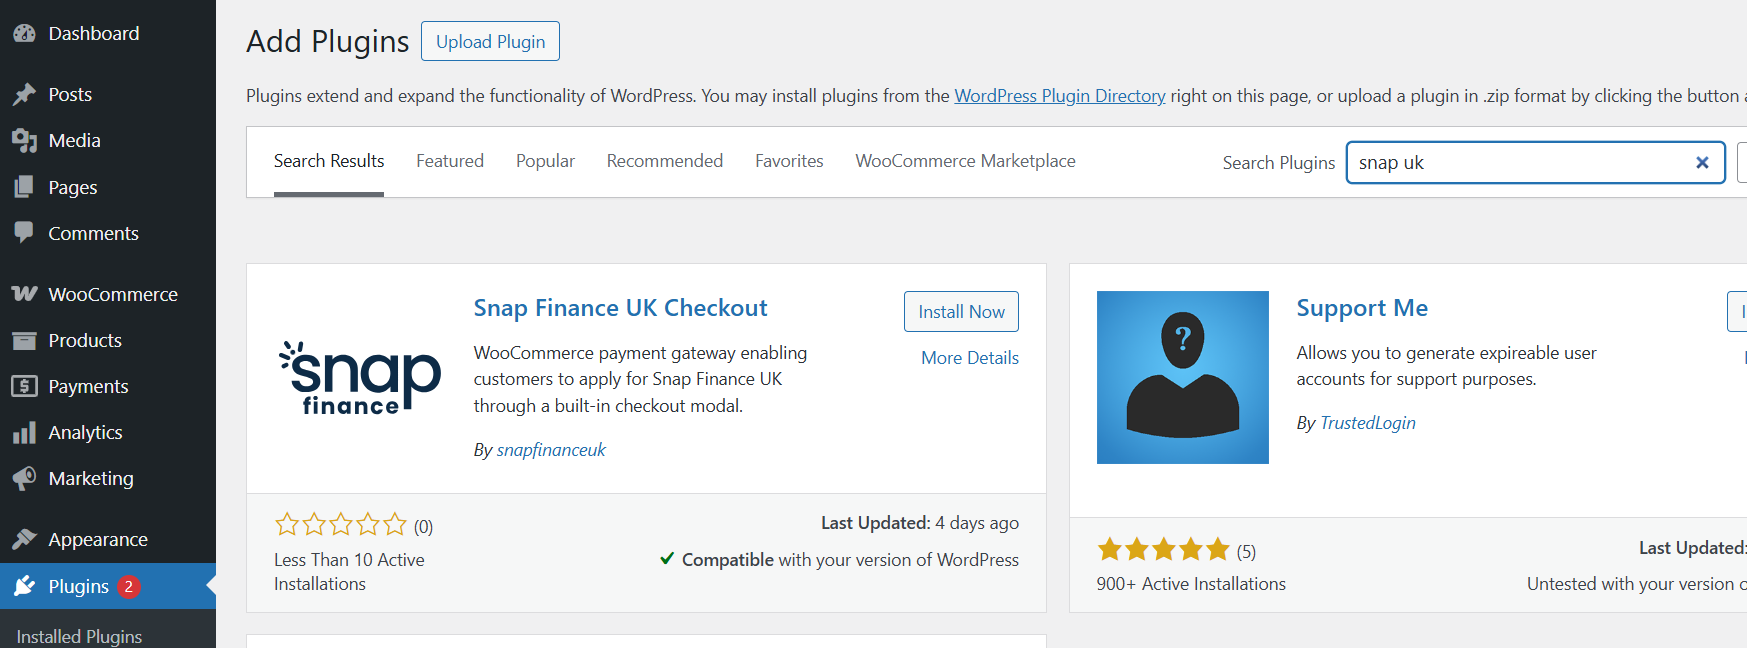
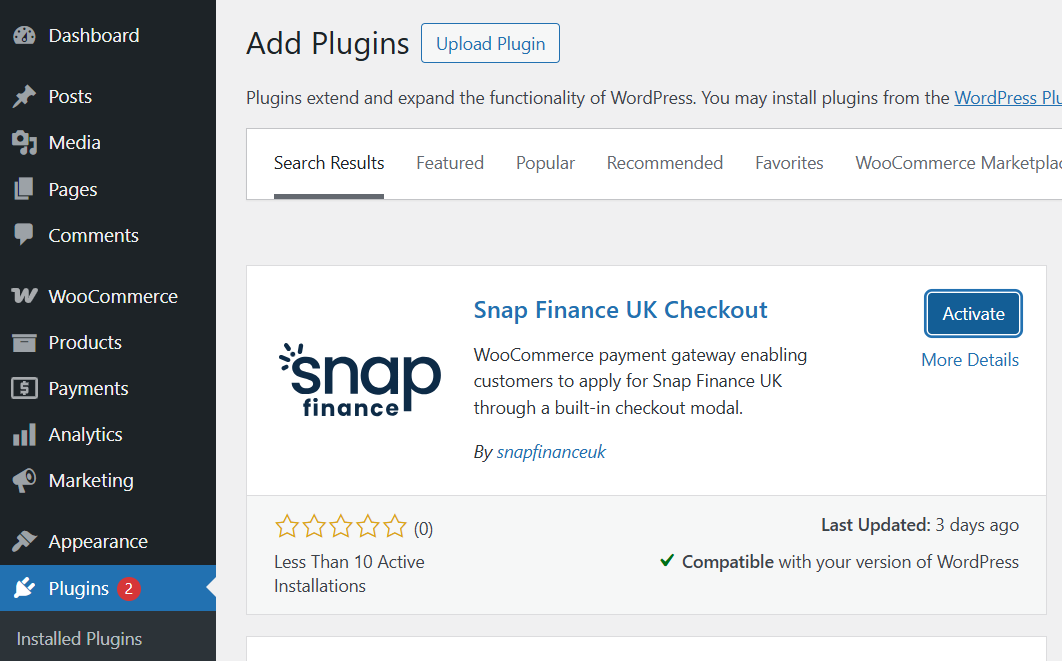
Step 3: Search And Install the plugin
Use the search box on the top right and type the name of the Snap Finance UK plugin. When you find the correct plugin, click the "Install Now" button.
Step 4: Activate the plugin
After installation is complete, click "Activate" to enable the plugin on your site.
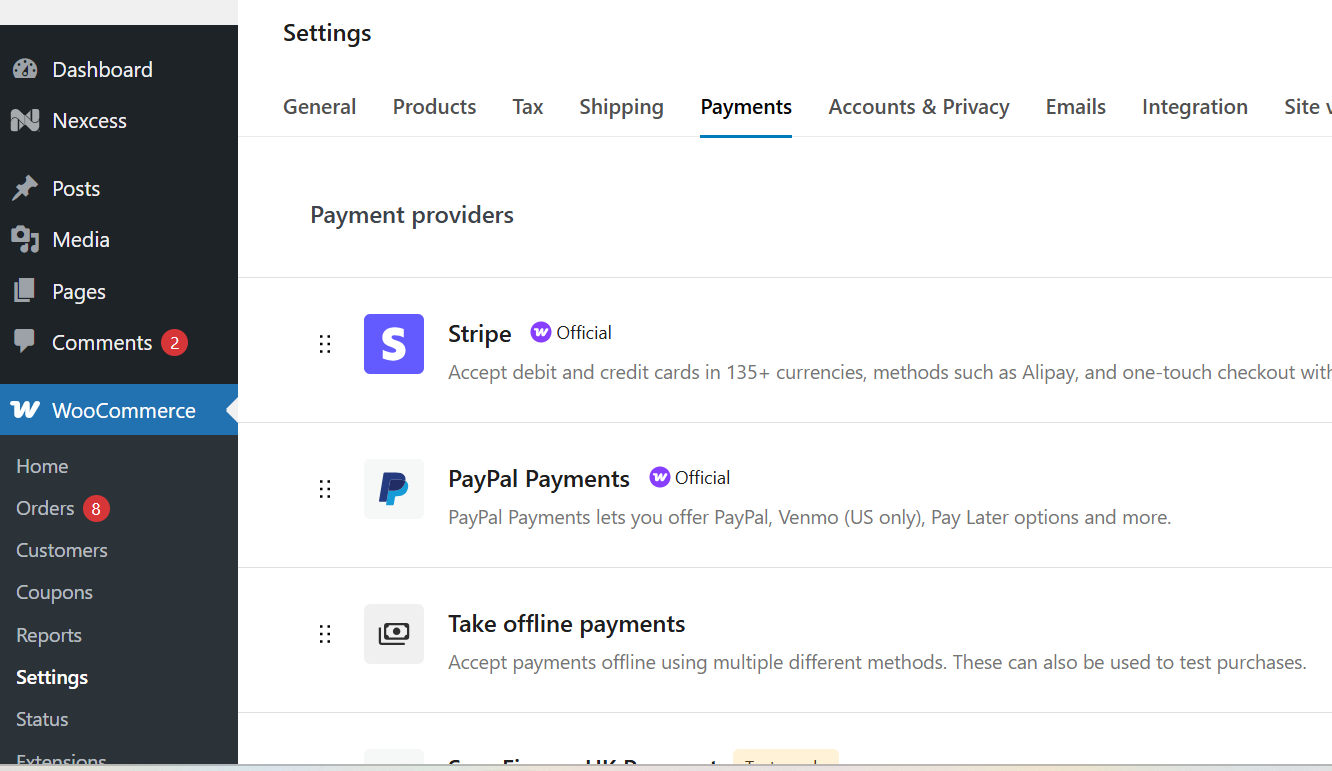
Step 5: Configuration
After activating the plugin, go to "WooCommerce → Settings" from the left menu. Open the Payments tab, find "SnapFinanceUK Payment", and click "Manage" to access the plugin settings.
The Merchant ID, Client ID and Client Secret Key for both sandbox and production will be provided by Snap Finance UK as part of the retailer onboarding process.
Please, ensure that the plugin is Enabled and that the "Mode" is set to "Sandbox" to test it before going live.
Once you have filled in these fields, you can click on the "Save Config" button in the bottom left corner.
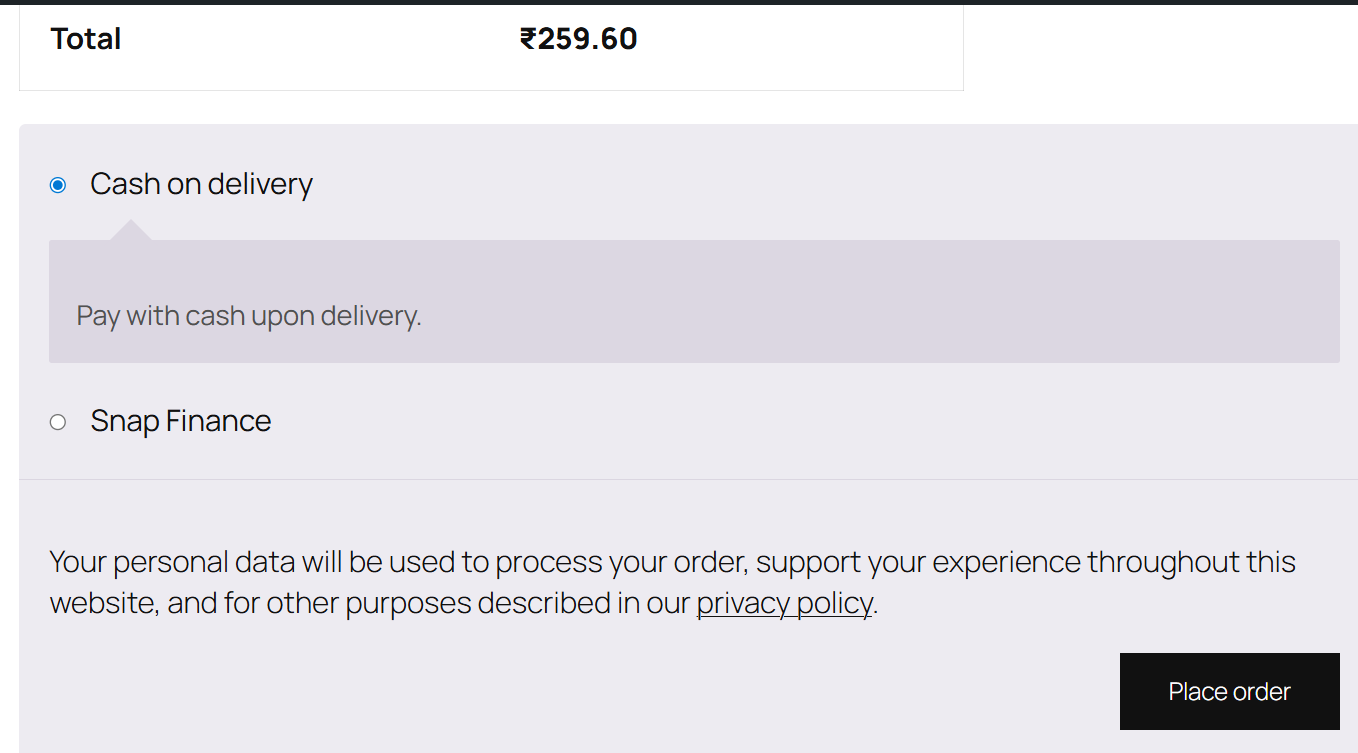
Step 6: Testing
The installation has been completed! 🎉
To verify and view the customer experience, initiate the checkout application flow. A new "Snap Finance" payment method will be displayed.
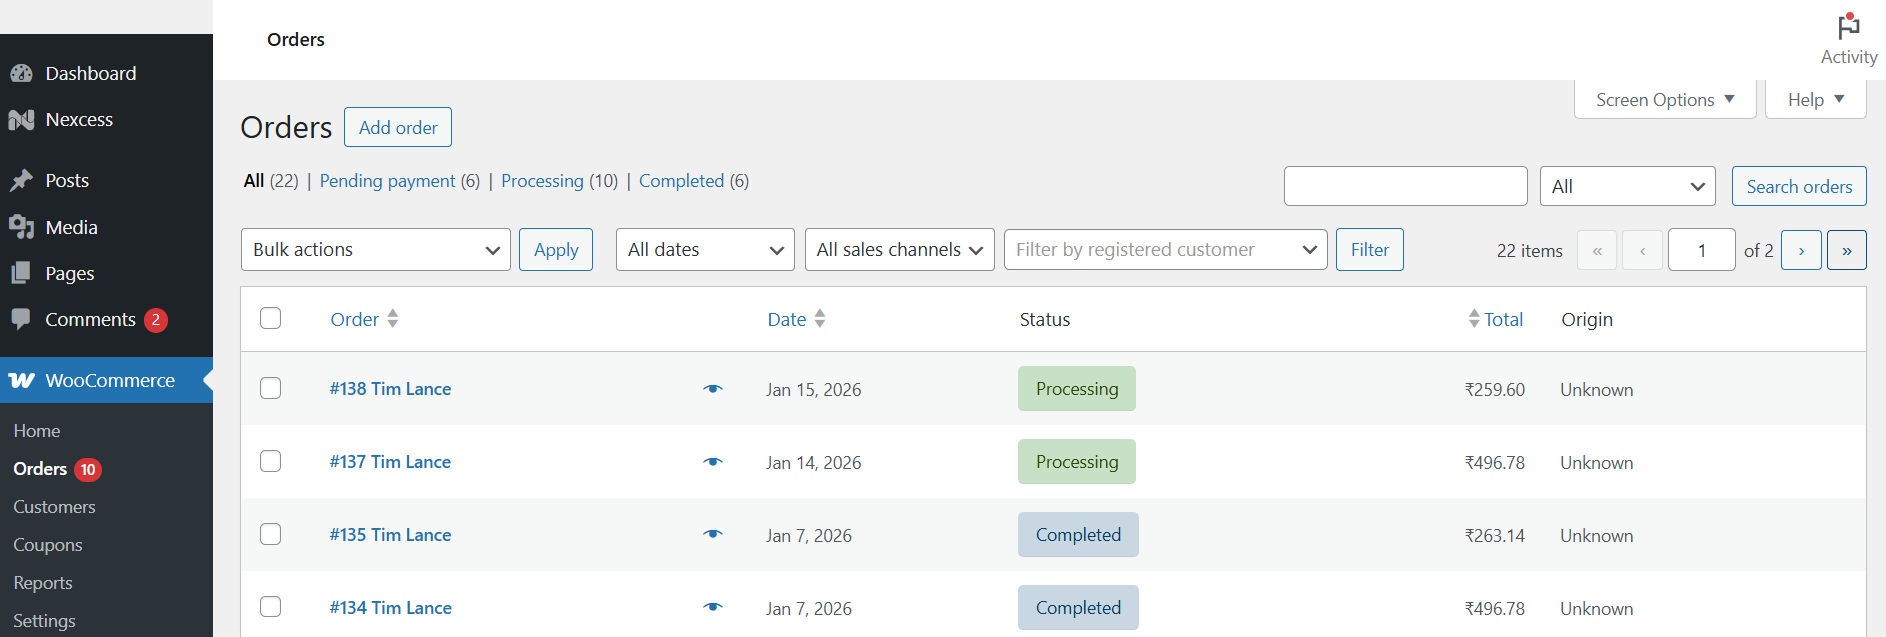
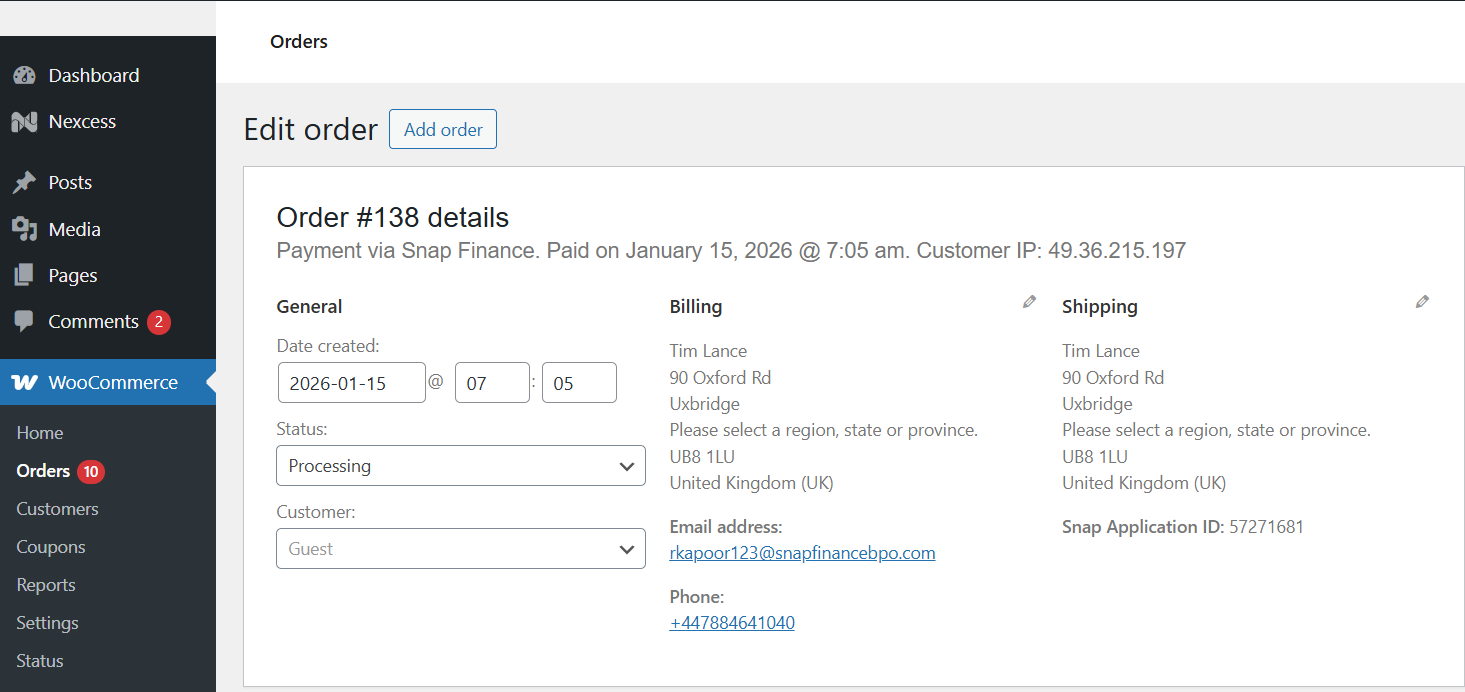
Step 7: Verification
After the customer completes the checkout process, "the order will be available in your WordPress Admin panel". From the left-hand menu, go to "WooCommerce → Orders" to view all customer orders. Click an order number to see its full details. On the order page, under the Order details section, you will see the text Payment via Snap Finance, which confirms that the Snap payment method was used.