Snap checkout button
The Snap Checkout button is designed to be a payment option for your website. When a customer clicks the button, a modal window launches a customer application. When the customer completes the application, the window closes.
Implementation
Step 1: Import SDK Script
<head> section of your website, using the code snippet below. The script should load before your document body loads.https://sdk.snapfinance.co.uk/v1/snapuk.min.jsStep 2: Add button container
Step 3: Initialize Snap
snapuk object will be available. Initialize Snap by calling snapuk.init(clientId).Step 4: Create Transaction Data
/^[a-zA-Z0-9-._/]{0,10}$/.- It can only contain alphanumeric characters, hyphens, underscores, dots, and slashes.
- It must be between 1 and 10 characters long.
- It cannot contain any other special characters.
Step 5: Add Snap Checkout Button
applicationId, the onApplicationId method will be invoked, passing in the applicationId and token.onApproved method will be invoked, with the applicationId and token.onApprovedWithConditions method is called, also passing the applicationId and token.Snap Checkout Button Theming
The checkout button is available in two theme colors: DARK and LIGHT, and you can configure this using the theme property.
To opt for a light theme for the button, simply set the theme property to LIGHT. By default, the button will be in the DARK theme.
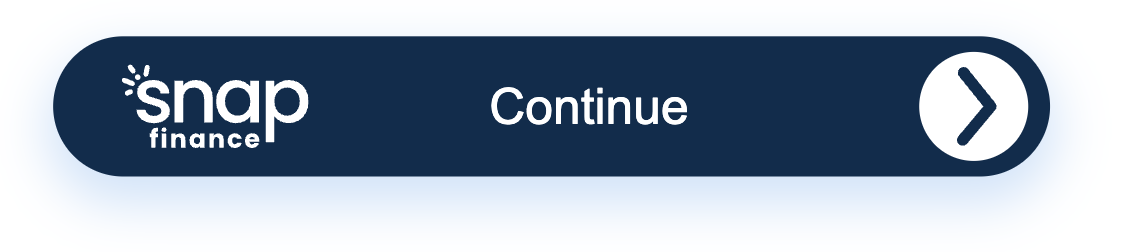
Checkout Button with Dark theme:
Checkout Button with Light theme:

For a full example please see here: Full example usage
Retailer Methods
Application ID
Once the Checkout has loaded and an application is created (this is when the 'About You' screen is submitted), an applicationId will be returned in the onApplicationId() method . Please see 'Step 5' under 'Implementation' below.
Success
If financing is approved and the loan is successfully created, an onSuccess() event is called with the associated applicationId. We strongly recommend that the Status API is called on the server side of the retailer to ensure that the application is valid and the loan is created. Please see 'Step 5' under 'Implementation' below.
Denied
If financing is denied, an onDenied() event is called with the associated applicationId. Please see 'Step 5' under 'Implementation' below.
Errors
If there is an error in the Snap process, an onError() event is called with an object containing a message (string) and an applicationId (number) if we have one at that stage of the process. Please see 'Step 5' under 'Implementation' below.
Payment Failure
If a deposit payment has failed the limited amount of times then an onPaymentFailure() event is called with the associated applicationId. Please see 'Step 5' under 'Implementation' below.
Unverified Account
If we are unable to verify a bank account, then an onUnverifiedAccount() event is called with the associated applicationId. Please see 'Step 5' under 'Implementation' below.